Tutorial
Sign up for a free Flybase account
The first thing you need to do is sign up for a free account, and get your API Key
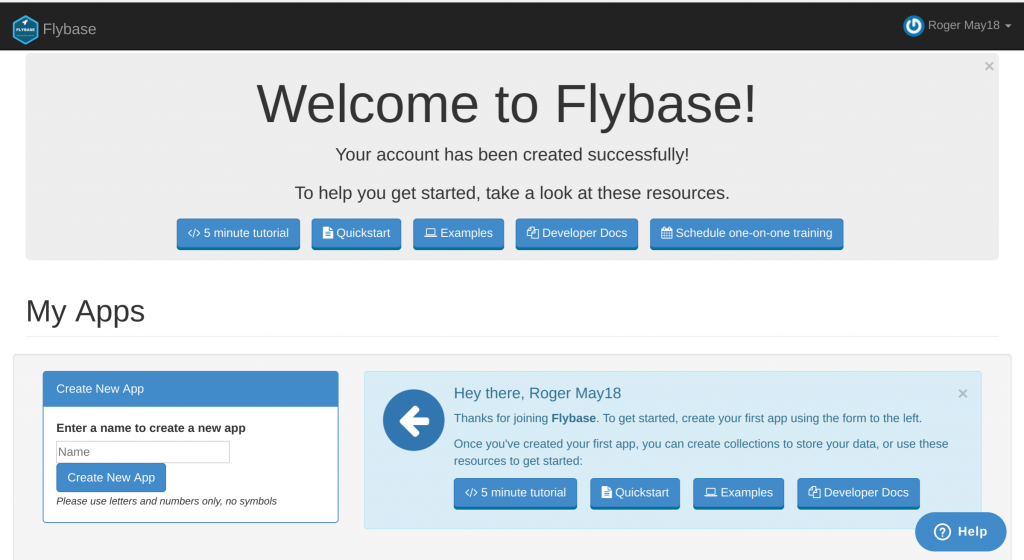
You'll find your API Key at the bottom of this page, you can also create more API Keys with limited permissions. Now, use the form on the dashboard to create an app called tutorial We also have a handy help widget that you can use at anytime to send us any questions
Install Flybase
To get you started, lets create a blank HTML page, and install the Flybase JavaScript client by adding the following line into the section:
<script src="https://cdn.flybase.io/flybase.js"></script>So it should look like this:
<html><head> <script src="https://cdn.flybase.io/flybase.js"></script></head><body></body></html>Accessing Data
Flybase uses three references to tell your app which data you want to access. First, sign up for a new account at Flybase App if you have not already done so. Once you login, create a new app called tutorial Copy your API Key, and paste it in the following code where it says 74k8064f-cd6f-4c07-8baf-b1d241496eec: Now, let's create a reference to the root of your Flybase app as shown below:
const Ref = new Flybase("74k8064f-cd6f-4c07-8baf-b1d241496eec", "tutorial", "chat");Your file should look like this:
<html><head> <script src="https://cdn.flybase.io/flybase.js"></script></head><body> <script> const Ref = new Flybase("74k8064f-cd6f-4c07-8baf-b1d241496eec", "tutorial", "chat"); </script></body></html>This will tell your app what apiKey to use, what Flybase app to use, and what collection to use, which will be chat.
Writing Data
Great, we've made it this far, now let's send a chat message
The Flybase reference you just created can be used to write data to your Flybase app using the set() function. Now, let's write a message to Flybase using the set() function as shown:
Ref.set( {name:name, text:text} );Let's update our file to send chat messages to our Flybase app:
<html><head> <script src="https://cdn.flybase.io/flybase.js"></script> <script src='https://ajax.googleapis.com/ajax/libs/jquery/1.11.1/jquery.min.js'></script></head><body> <input type='text' id='name' placeholder='Name'> <input type='text' id='message' placeholder='Message'> <script> const Ref = new Flybase("74k8064f-cd6f-4c07-8baf-b1d241496eec", "tutorial", "chat"); $('#message').keypress(function (e) { if (e.keyCode == 13) { const name = $('#name').val(); const text = $('#message').val(); Ref.set( {name:name, text:text} ); $('#message').val(''); } }); </script></body></html>Flybase can handle objects of arbitrary complexity. If it can be represented as JSON, it can fit in Flybase. When objects are written to Flybase, the structure of the object is mapped to the Flybase collection in use. In this example, when the object {name: name, text: text} is set, name and text are automatically mapped as fields in the chat collection referenced inside Ref.
Reading Data
We're writing data, now let's receive data.
We need to tell Flybase to notify us when chat messages are stored. We do this by adding a callback to the list of chat messages using the on() method, as shown below:
Ref.on('value', function(data) { // We'll fill this in later.});Ref.on('added', function(data) { // We'll fill this in later.});This method takes two arguments: the event type and the callback function. We're going to set up two event callbacks, one for 'value', which will load previously messages when the page loads, and then we'll use the 'added' event so that we are notified of the arrival of individual messages as they are stored.
Your file should look like this:
<input id="name" type="text" placeholder="Name"> <input id="message" type="text" placeholder="Message"> <script> const Ref = new Flybase("74k8064f-cd6f-4c07-8baf-b1d241496eec", "tutorial", "chat"); $('#message').keypress(function (e) { if (e.keyCode == 13) { const name = $('#name').val(); const text = $('#message').val(); Ref.set( {name:name, text:text} ); $('#message').val(''); } }); Ref.on('value', function(data) { // We'll fill this in later. }); Ref.on('added', function(data) { // We'll fill this in later. });</script>Now you're handling real-time updates!
With Flybase, you always read data using callbacks. This allows us to guarantee that Flybase applications always update in real-time.
Processing Data
Now we need to display the chat messages on the page.
For each chat message, Flybase will call your callback with a response containing the message's data. We'll extract the message data from the response by calling the value() function and assign it to a variable. Then, call the addChat() function to display the message as shown:
const message = data.value();addChat(message.name, message.text);Your file should look like this:
<html><head> <script src="https://cdn.flybase.io/flybase.js"></script> <script src='https://ajax.googleapis.com/ajax/libs/jquery/1.11.1/jquery.min.js'></script></head><body> <ul id='messages'></ul> <input type='text' id='name' placeholder='Name'> <input type='text' id='message' placeholder='Message'> <script> const Ref = new Flybase("74k8064f-cd6f-4c07-8baf-b1d241496eec", "tutorial", "chat"); Ref.on('value', function (data) { data.forEach( function( message ){ const message = message.value(); addChat(message.name, message.text); }); }); $('#message').keypress(function (e) { if (e.keyCode == 13) { const name = $('#name').val(); const text = $('#message').val(); Ref.set( {name:name, text:text} ); $('#message').val(''); } }); Ref.on('added', function(data) { const message = data.value(); addChat(message.name, message.text); }); function addChat(name, text) { $('li').text(text).prepend($('').text(name+': ')).appendTo($('#messagesDiv')); $('#messages')[0].scrollTop = $('#messages')[0].scrollHeight; } </script></body></html>Congratulations! You've completed the guided portion of this tutorial.
You've now learned how to use Flybase to build a web-based chat page that you can use to talk to your friends.
Thanks for taking our tutorial!